Overview:
Click Timelines at the bottom of the interface to open the timeline panel. The timeline controls how content changes over time. It allows you to animate properties such as position, rotation, and scale for objects in the scene. Multiple timelines can be created within a single Scene, and different timelines can be linked together through Events to create continuous spatial experiences.
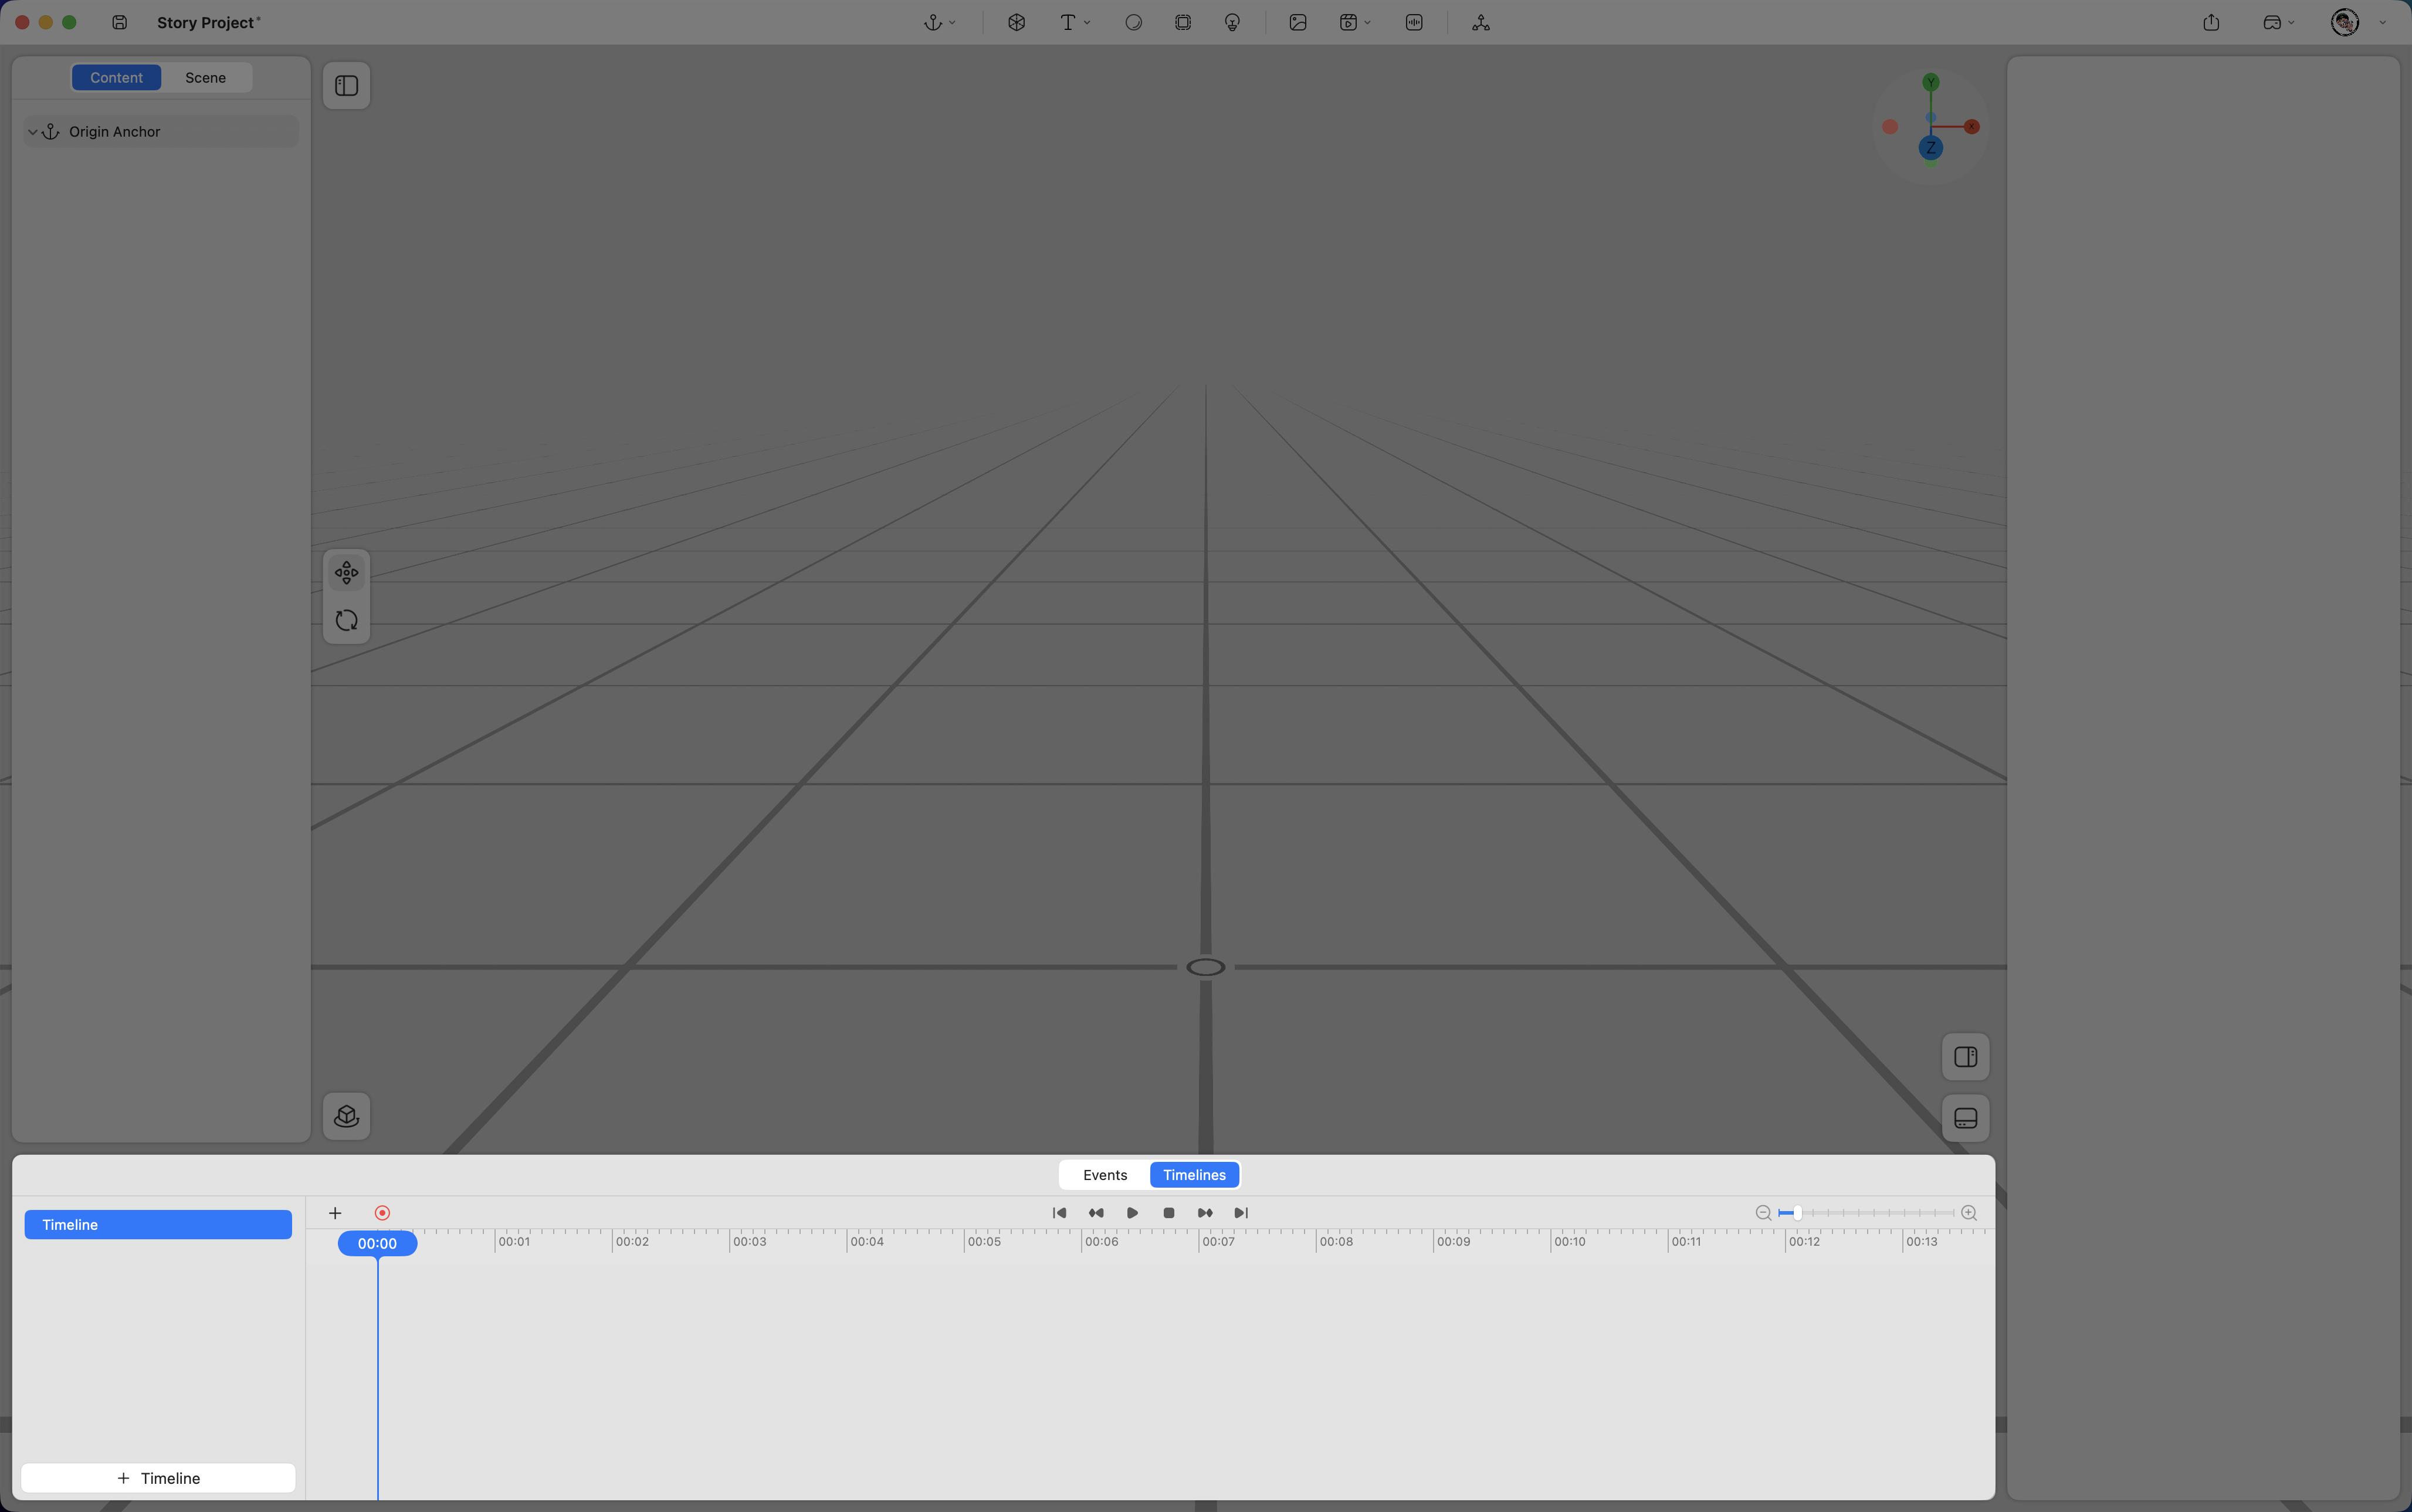
The left section manages different timelines.
The right section allows you to edit content track along the timeline.

Create a Timeline
Click the “+ Timeline” button in the lower-left corner of the panel to create a new timeline.
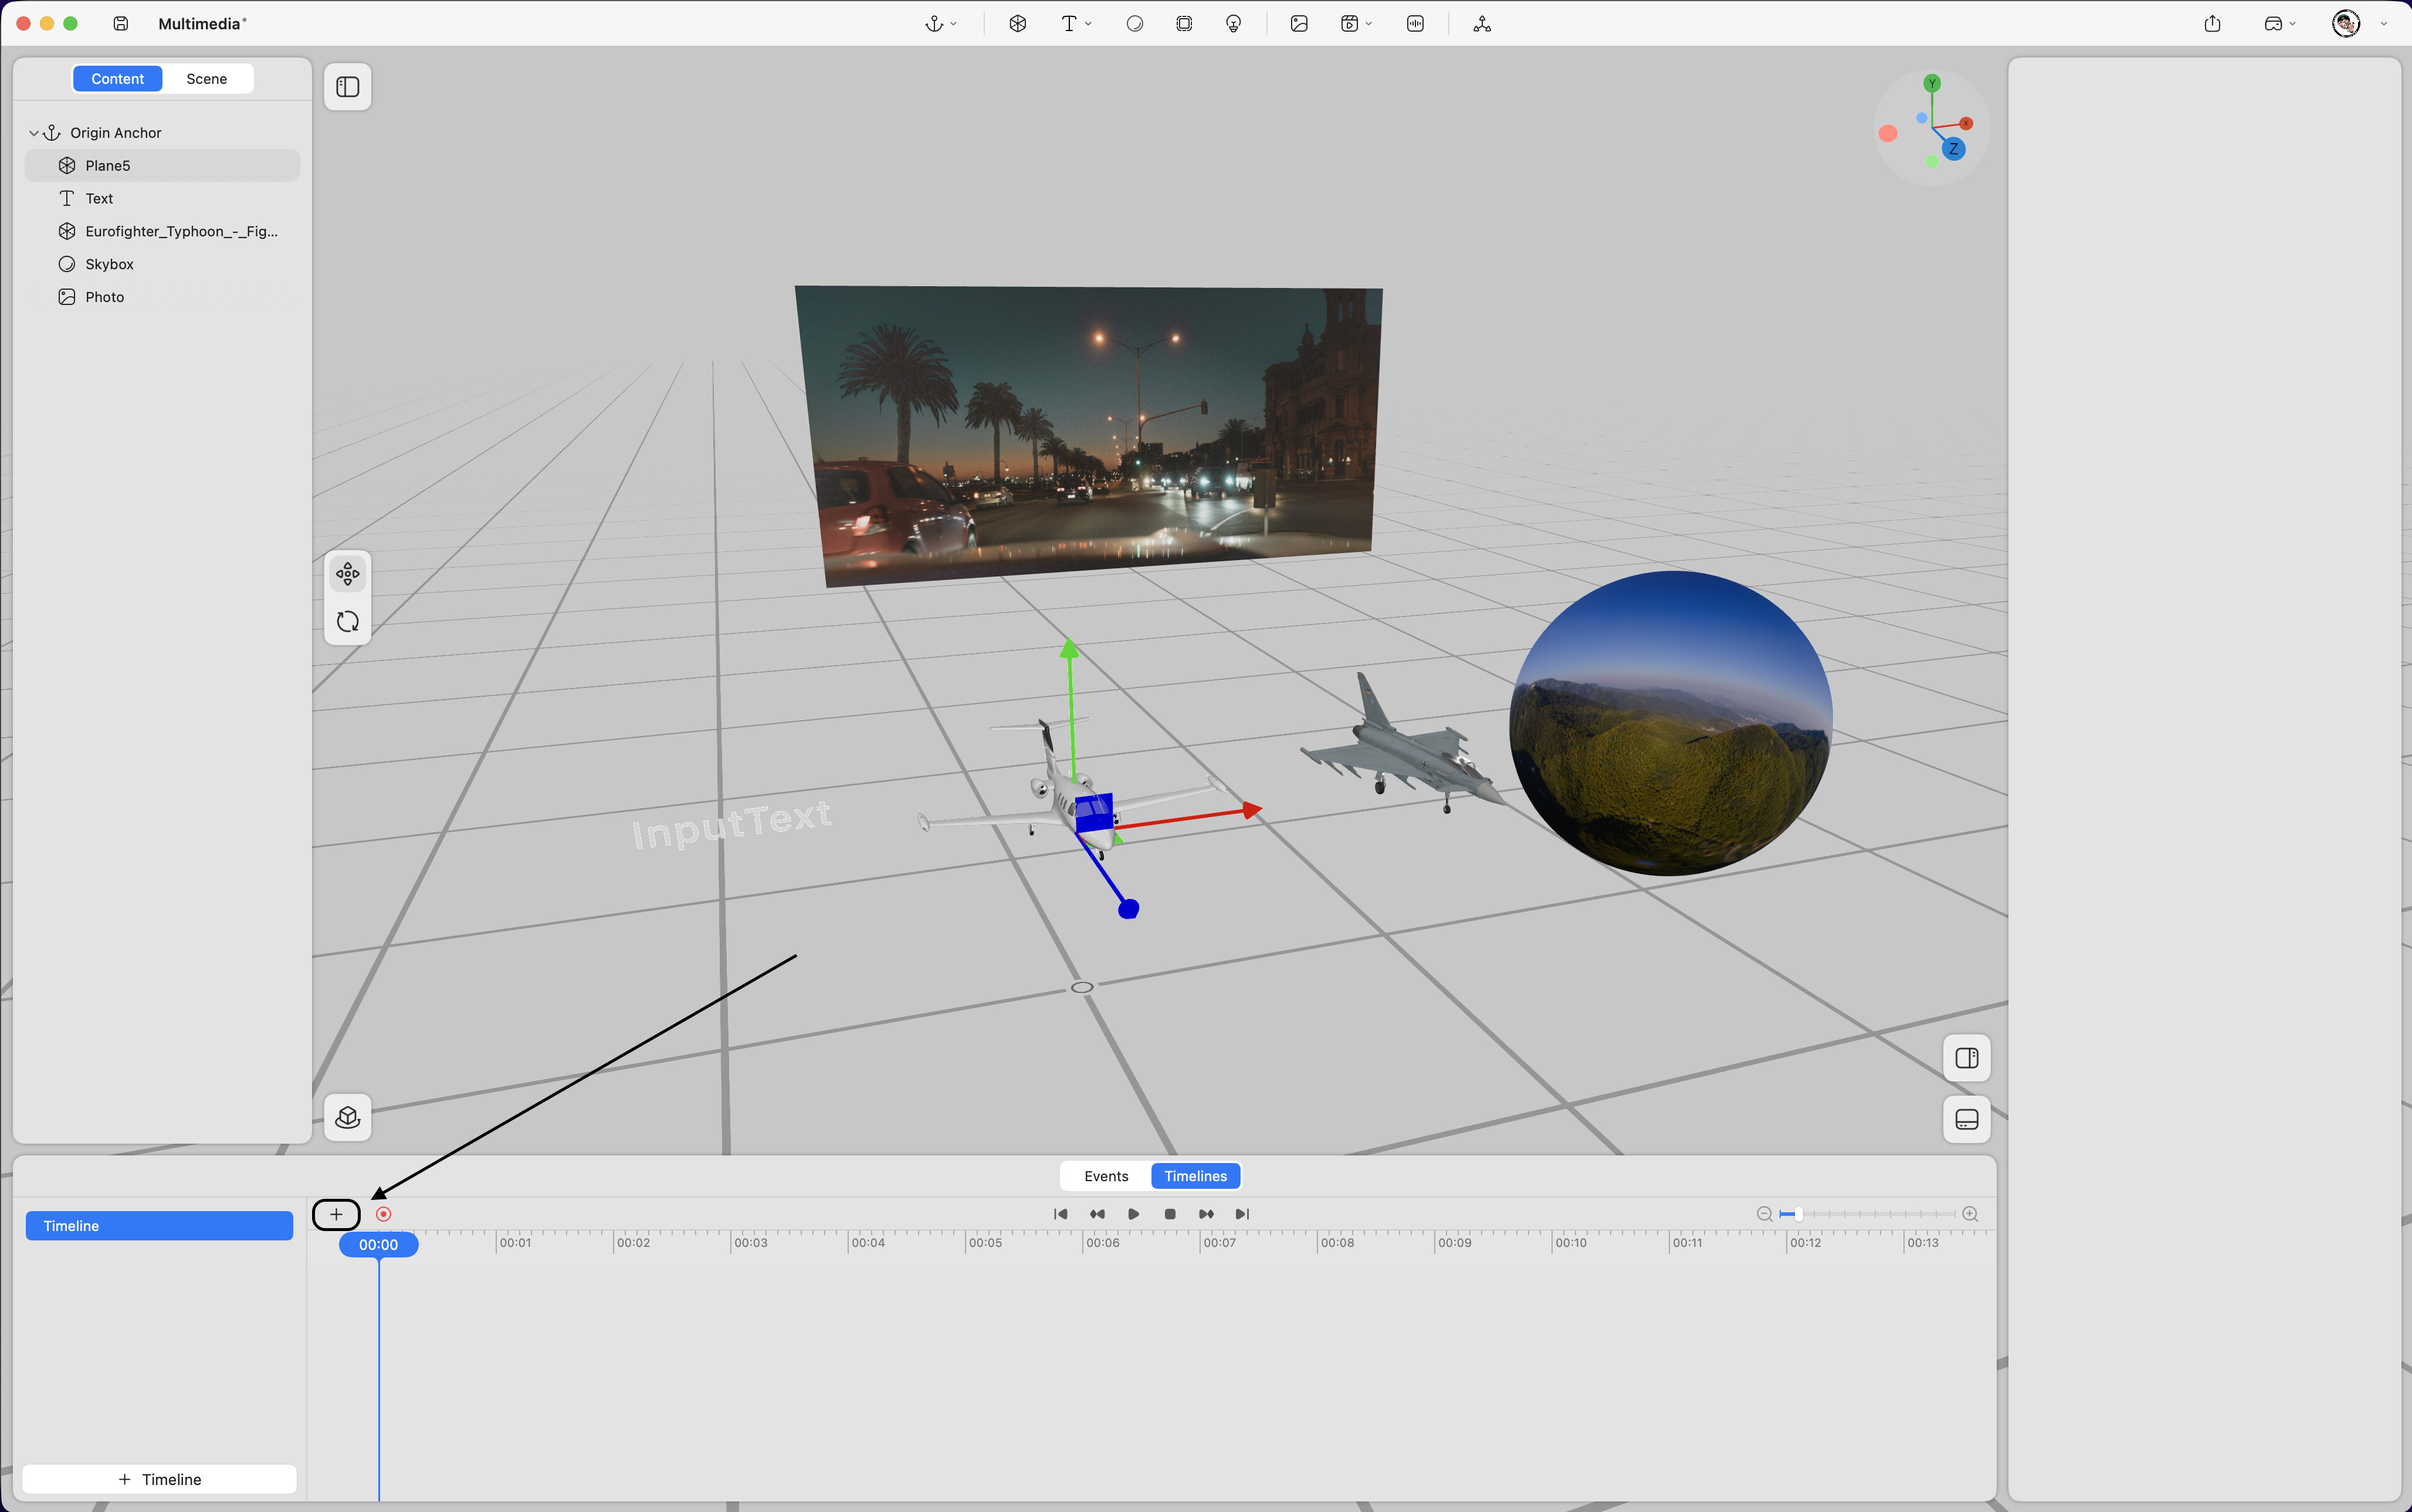
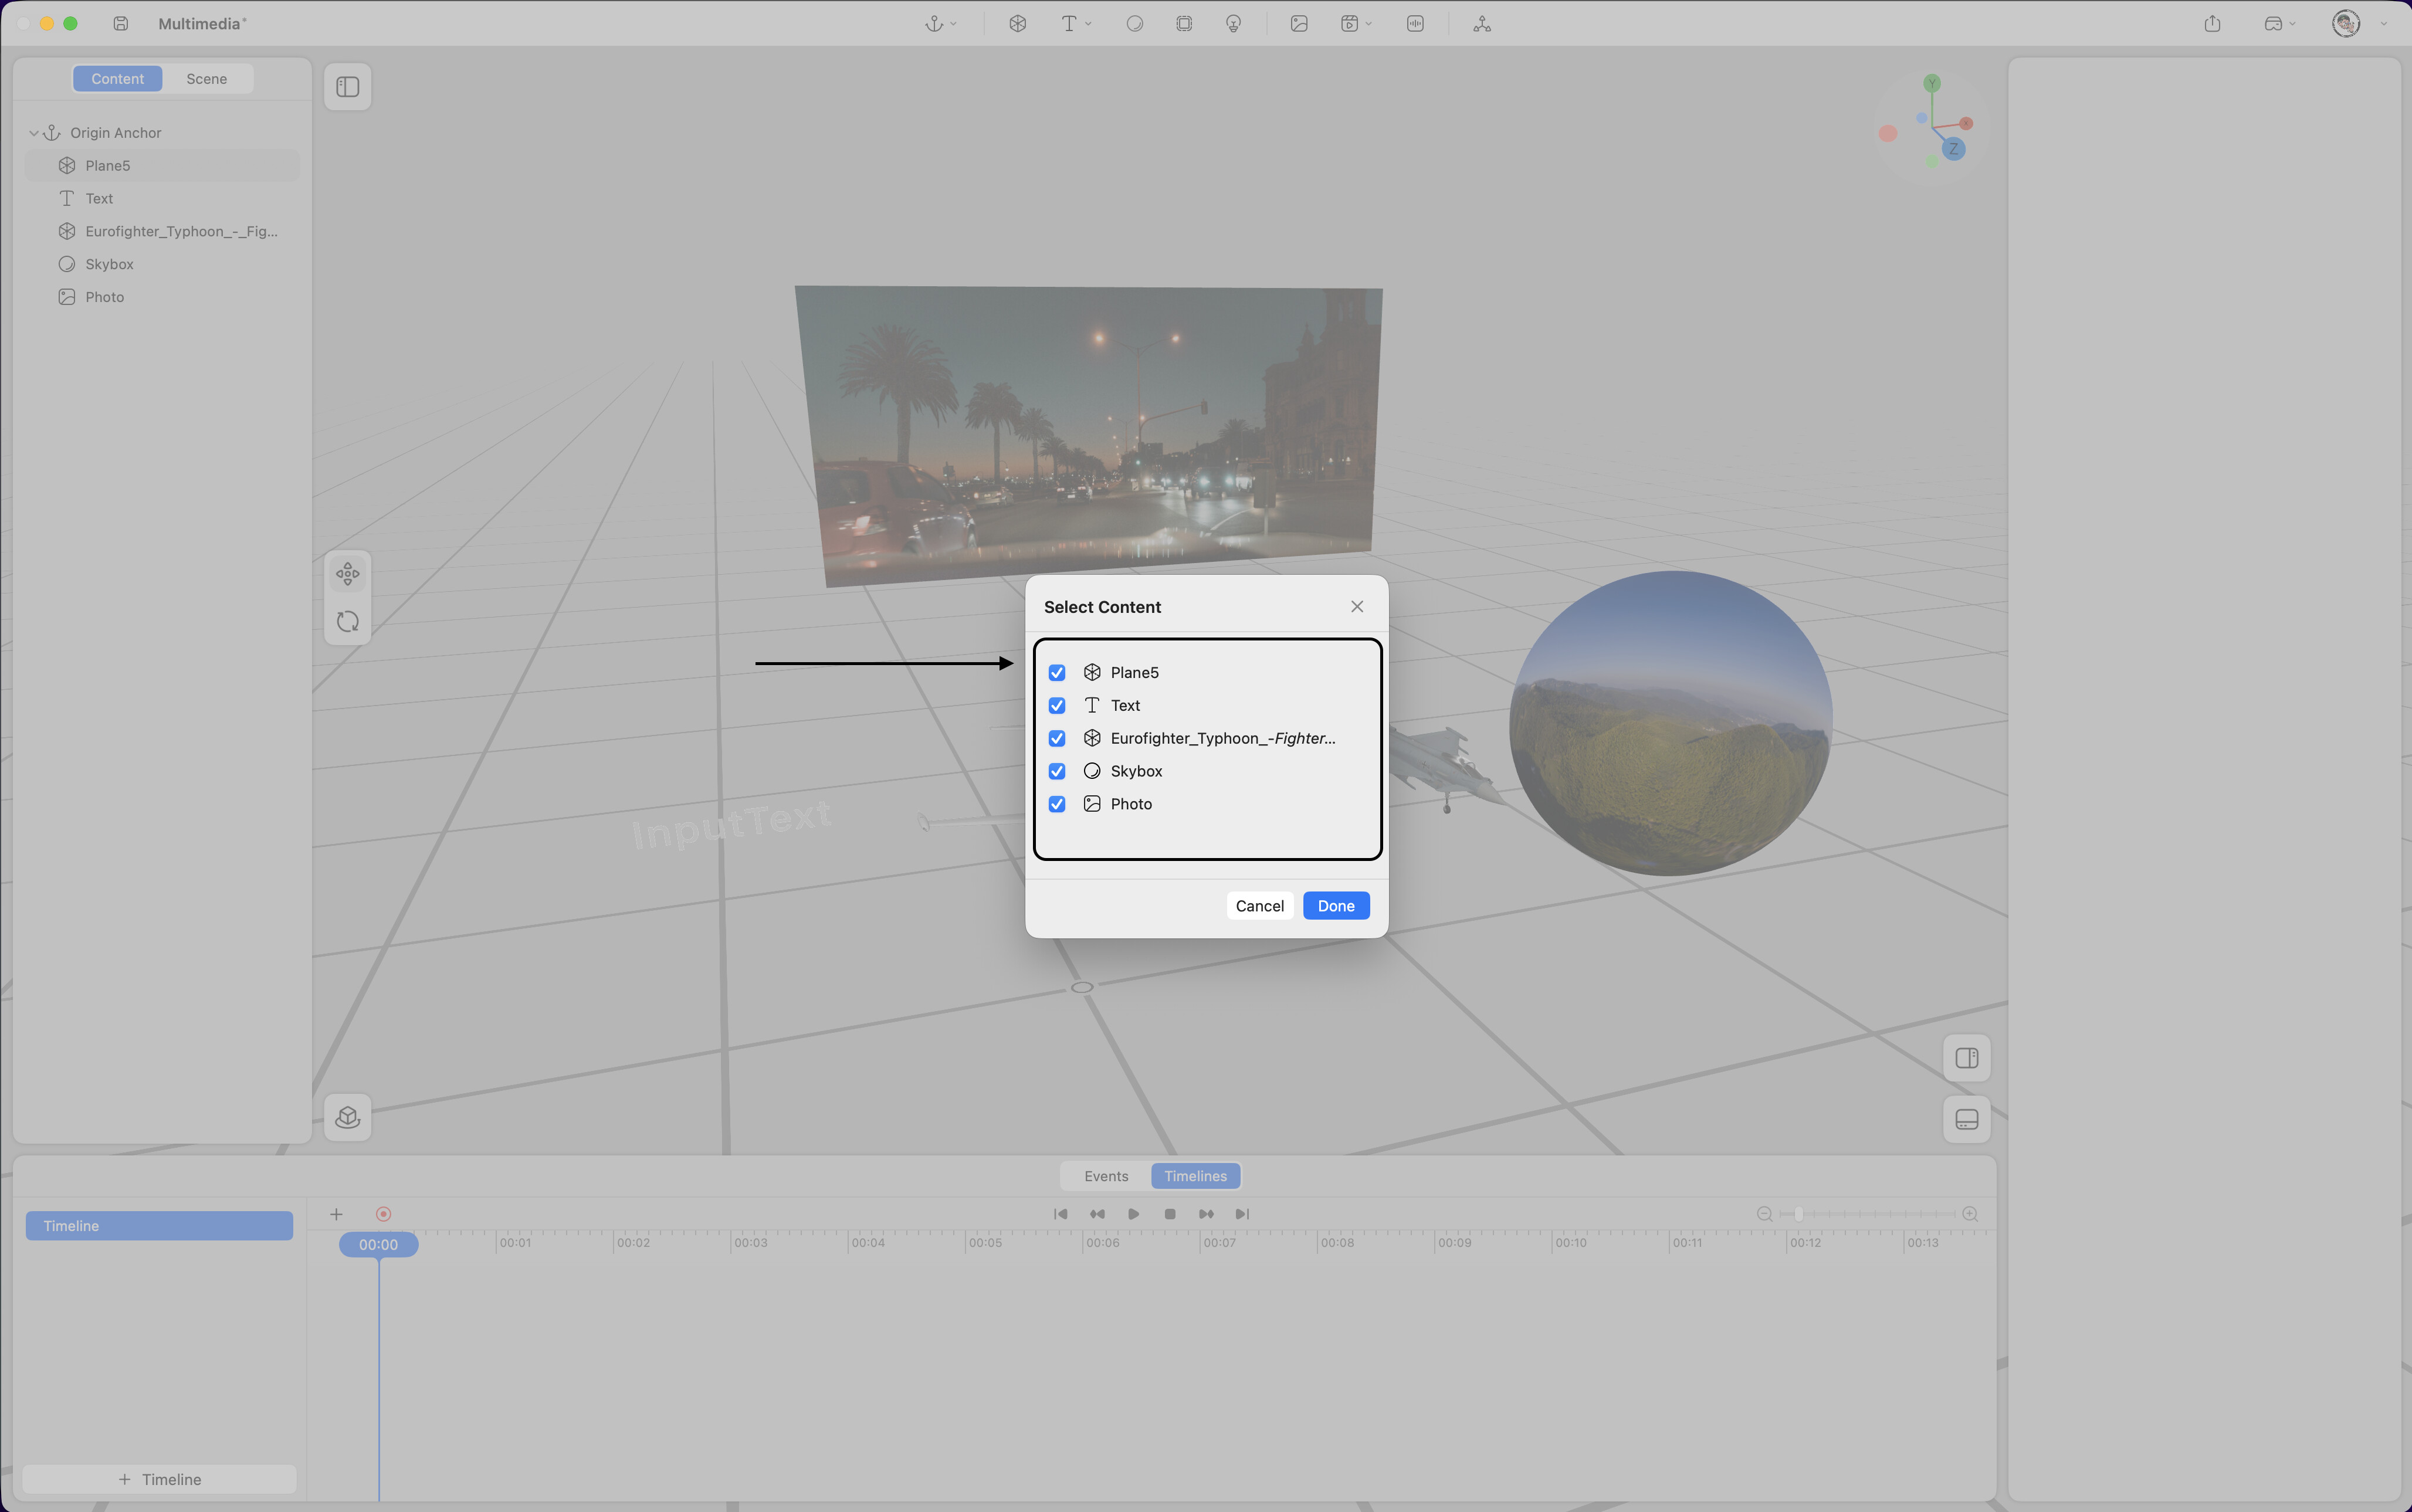
Add Content to Timeline Track
Click the “+” button again and select content to add it to the timeline.
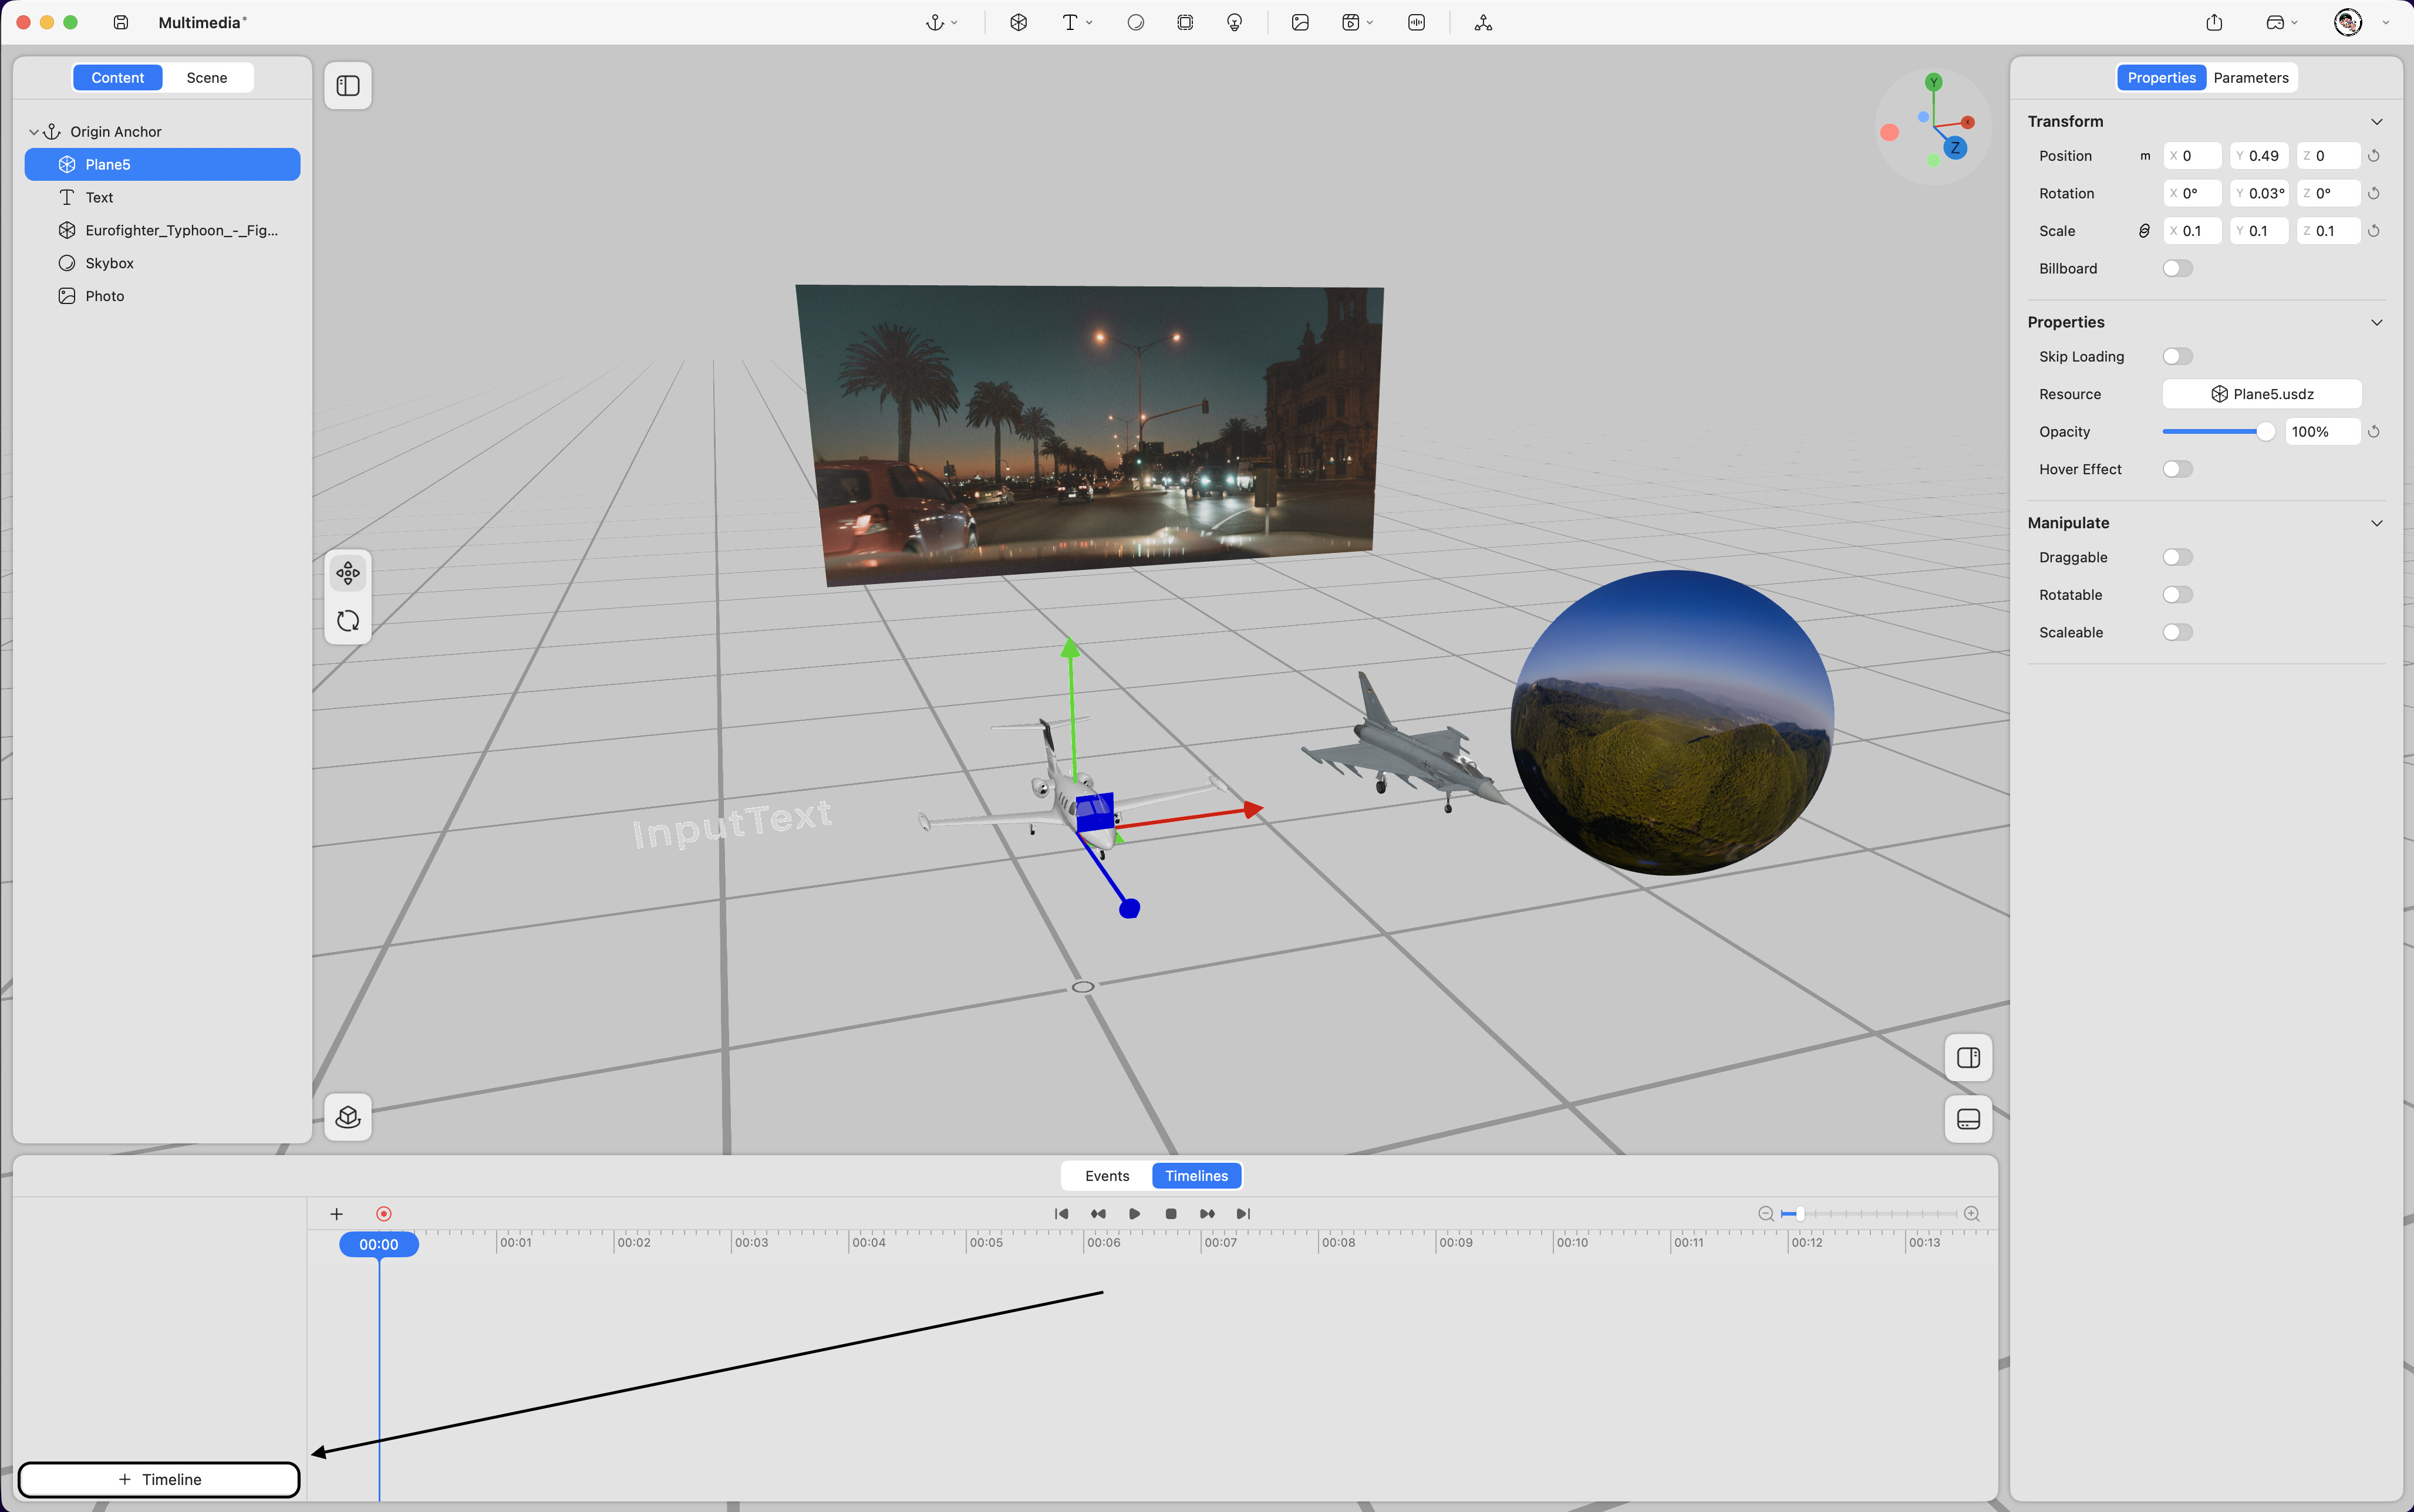
Timeline Preview Panel
Displays the content added to the timeline.

- Record Button: When editing timeline content in the preview window, press the record button to enable recording. (If not enabled, edits can only be made by entering values in the Properties panel.)

- Timeline Control Buttons: Quickly move the timeline to the previous segment, previous frame, start, stop, next frame, or next segment.

- Timeline Zoom Button: Drag the white handle in the middle to zoom in or out for better timeline visibility.
- Timeline Scrubber: Drag along the timeline to preview the animation.

Double-click the timeline to expand keyframe options.
Drag keyframes to adjust their position.
Click the line between two keyframes to modify the motion curve in the Properties panel.
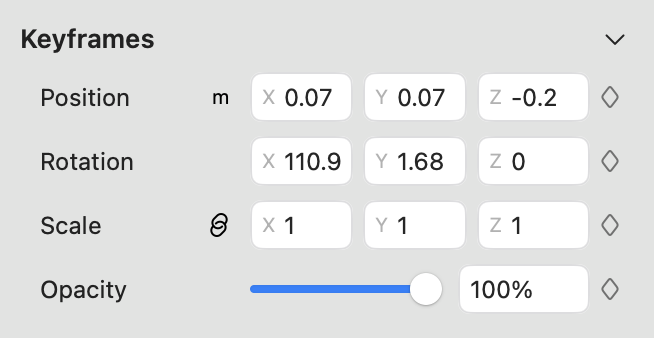
Keyframes
-
Position: Set position keyframes based on the timeline.
-
Rotation: Set rotation keyframes based on the timeline.
-
Scale: Set scale keyframes based on the timeline.
-
Opacity: Set opacity keyframes based on the timeline.
Actions

-
State: Control the appearance or disappearance of content based on the timeline.
-
Playback: Control content playback, pause, or stop based on the timeline.